You boot up your computer, ready to get some work done or jump into a game, but instead, you are greeted by a spinning blue wheel. Apps take several seconds to open. Typing feels delayed. Opening more than five tabs in your browser makes the entire system stutter.
It is incredibly frustrating when a relatively modern operating system feels sluggish. Many users notice a drop in speed after updating to Windows 11 or running it on a laptop for a few months. The interface looks sleek, but the background animations, telemetry services, and pre-installed apps can quietly eat away at your system resources.
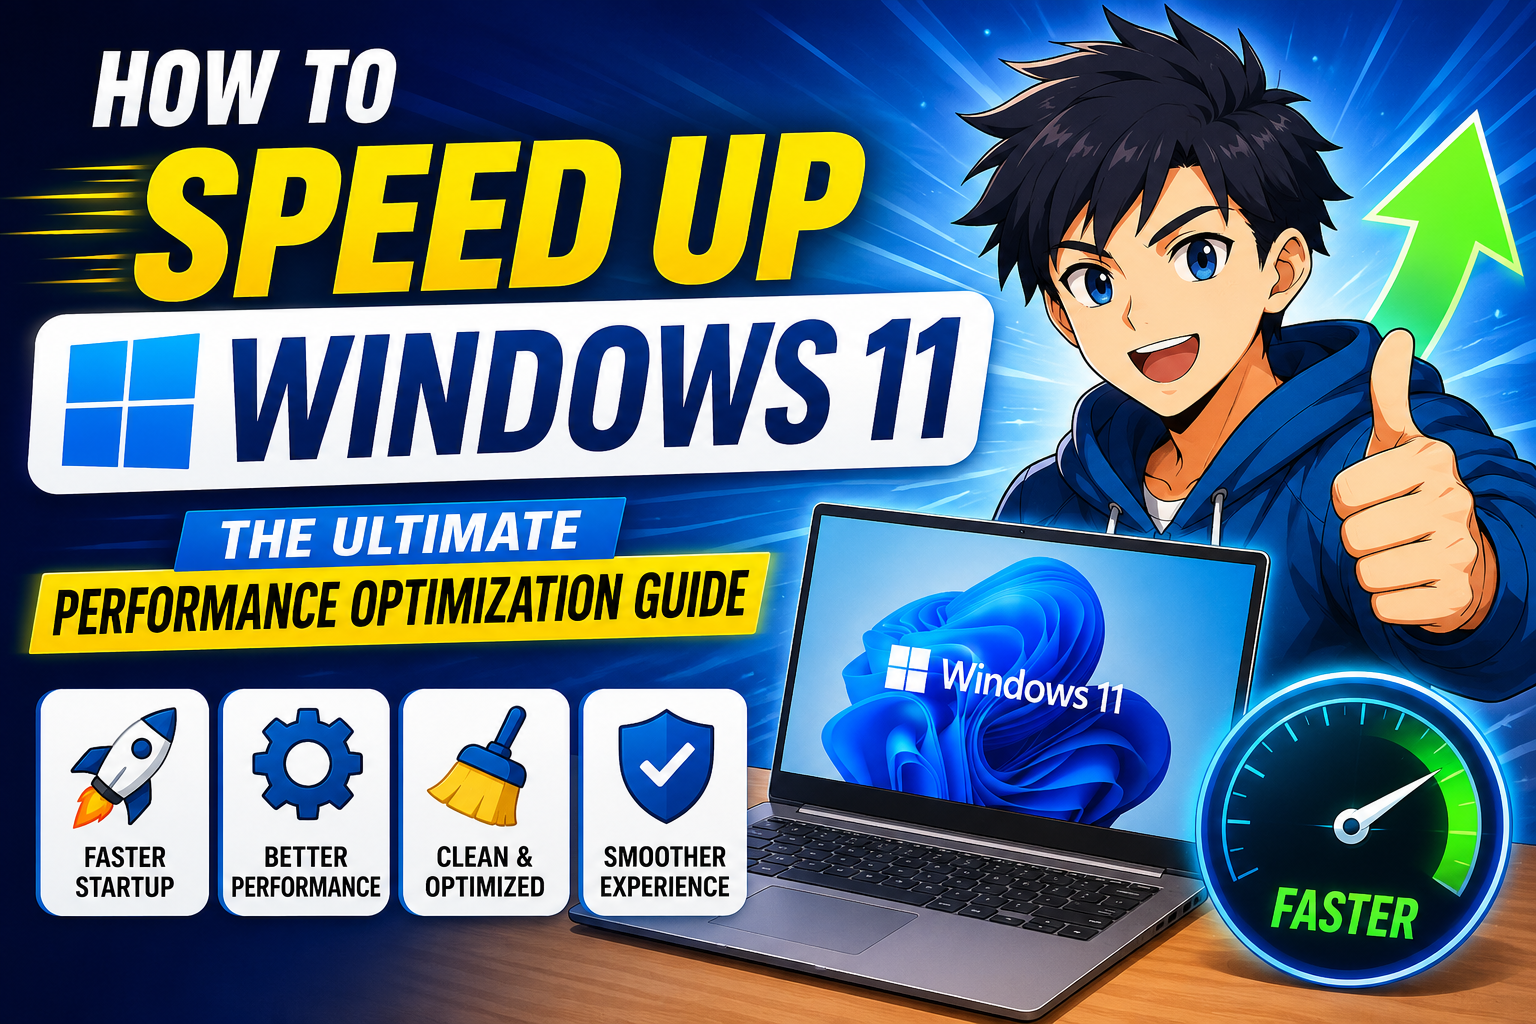
You do not necessarily need to run out and buy a new computer or expensive hardware upgrades. Often, a few deliberate software tweaks can reclaim your system’s speed. This guide breaks down exactly how to optimize Windows 11, clean out hidden resource hogs, and configure your settings for a snappy, responsive experience.
What Is Windows 11 Performance Optimization?
Optimizing Windows 11 means adjusting the operating system configuration to ensure your processor, memory, and storage work efficiently. Out of the box, Windows 11 prioritizes visual flair and background connectivity. It enables subtle animations, transparency effects, indexing services, and diagnostic tracking by default.
While these features make the system look modern, they require processing power. Optimization is the process of trimming this background noise so your hardware can focus entirely on the apps you actively use.
Why People Optimize Windows 11
Most users start looking for optimization tweaks when their workflow hits a wall. For example, a freelance video editor might notice that rendering timelines stutter when background cloud syncing apps run simultaneously. A college student running a budget laptop might find that background widgets cause battery drain and slow down web browsing during lectures.
By taking control of your operating system settings, you prevent background processes from competing with your primary applications. This leads to cooler operating temperatures, longer battery life, and a more consistent user experience.
Key Areas of Windows 11 Optimization
To speed up your PC effectively, you need to target the core areas where performance leaks happen.
- Startup Apps: Programs that launch automatically when you turn on your PC, dragging down boot speeds.
- Visual Effects: Animations, shadows, and transparency elements that stress your graphics processing chip.
- Storage Management: Temporary installation files, caches, and system fragments that clutter your drive.
- Power Delivery: System configurations that artificially throttle your processor to save energy.
- Background Services: Telemetry, automated search indexing, and third-party update monitors that constantly run in the background.
How It Works
Windows 11 manages resources using a priority queue system. When you open a program like a web browser or a photo editor, the operating system allocates a portion of your CPU cycles and RAM to that application.
However, if you have twenty different background services running—such as chat clients, cloud backups, and hardware RGB controllers—Windows constantly switches attention between your main app and those background tasks. This context switching causes micro-stutters. By disabling unneeded startup programs and background tasks, you give your active application undivided access to your hardware.
Practical Use Cases
1. The Budget Laptop Budgeting Resources
Budget laptops often ship with 8GB of RAM and entry-level processors. By turning off transparency effects and stopping heavy apps like Microsoft Teams or Spotify from launching at startup, you free up nearly 1.5GB to 2GB of memory. This extra headroom prevents the laptop from freezing when you open multiple browser tabs.
2. Eliminating Gaming Micro-Stutters
Gamers frequently experience random frame drops if Windows decides to run a disk cleanup or system update in the background. Configuring Windows Update active hours and turning on Game Mode ensures the operating system stops background interruptions while you play.
Step-by-Step Guide to Speeding Up Windows 11
Follow these actionable steps to clean up your system. You can complete these in about 15 minutes.
Step 1: Disable Startup Apps
Many programs set themselves to start automatically when installed. Let’s stop them.
- Press
Ctrl + Shift + Escto open the Task Manager. - Click on the Startup apps icon on the left sidebar (the speedometer or puzzle icon).
- Look through the list for apps you do not need immediately upon boot (e.g., Steam, Cortana, OneDrive).
- Right-click the app and select Disable.
Step 2: Trim Down Visual Effects
The animations that play when you minimize or maximize windows look nice, but they consume processing power.
- Press the Windows Key, type Advanced System Settings, and press Enter.
- Under the Advanced tab, click the Settings button inside the Performance section.
- Select the radio button for Adjust for best performance.
- Optional: Check the box for Smooth edges of screen fonts so your text remains easy to read.
- Click Apply and then OK.
Step 3: Enable Storage Sense
Storage Sense automatically removes temporary files, empties your recycle bin, and clears out old system logs when space gets low.
- Open Settings (
Win + I) and navigate to System > Storage. - Toggle the switch for Storage Sense to On.
- Click on Storage Sense to configure your cleanup schedules.
Step 4: Change Your Power Plan
If you use a desktop PC or keep your laptop plugged into the wall, your power plan should favor speed over power savings.
- Press
Win + R, typecontrol, and press Enter to open the classic Control Panel. - Click on Power Options.
- Select High Performance or Ultimate Performance (if available).
Note: If you are on a laptop and need maximum battery life while traveling, remember to switch this back to Balanced when unplugged.
Step 5: Turn Off Transparency Effects
- Open Settings and go to Accessibility > Visual effects.
- Toggle Transparency effects to Off.
Benefits of Windows 11 Optimization
- Instant Responsiveness: Apps launch noticeably faster, and menus load without a slight delay.
- Lower Memory Footprint: Reducing background tasks lowers baseline RAM usage, which is perfect for multitasking.
- Better Thermal Performance: When your processor does less unnecessary background work, your PC runs cooler, and laptop fans run quieter.
- Extended Hardware Lifespan: A clean-running operating system minimizes unnecessary disk writes, preserving the health of your solid-state drive (SSD).
Limitations of Software Tweaks
Software optimization can only do so much. If your computer uses an mechanical hard drive (HDD) as its primary boot drive instead of a modern Solid State Drive (SSD), the storage speed will remain a system bottleneck regardless of your settings. Similarly, if your system only has 4GB of RAM, software configurations cannot replicate the performance jump that comes with installing a physical 8GB or 16GB memory stick.
Pros and Cons of System Optimization
| Pros | Cons |
|---|---|
| Free performance gains without buying parts | Over-tweaking can disable helpful features |
| Extends battery life on portable devices | Registry edits can cause stability issues if done wrong |
| Drastically reduces system boot times | Requires occasional maintenance after major updates |
Hardware Upgrades vs. Software Optimization
| Scenario | Software Optimization | Hardware Upgrade |
|---|---|---|
| PC takes 5 minutes to boot up | Cleans up startup items, but won’t fix a failing mechanical drive. | Upgrading to an SSD reduces boot time to under 20 seconds. |
| Browser freezes with 10 tabs open | Frees up roughly 1-2 GB of RAM by closing background apps. | Adding an extra 8GB RAM stick permanently resolves freezing. |
| Games stutter randomly | Game Mode stabilizes frame rates by halting background updates. | A new graphics card delivers significantly higher baseline FPS. |
Best Alternatives to Manual Tweaking
If manual troubleshooting seems tedious or your machine is severely outdated, you have a few alternative options:
- Perform a Clean Install: Over time, software updates leave behind digital debris. Back up your files and perform a fresh, clean install of Windows from scratch to return the system to its original factory speed.
- Use Debloating Scripts: Open-source community scripts can automate the removal of built-in Windows tracking and pre-installed apps. Use these with caution, as aggressive scripts can sometimes break system features like the Xbox app or Windows Search.
- Consider Light Linux Distributions: If you have an old laptop that struggles even after optimization, switching to a lightweight operating system like Linux Mint can give the hardware a new lease on life for basic web browsing and typing tasks.
Common Mistakes Users Make
- Installing “PC Booster” Software: Many free utilities online promise to speed up your computer. In reality, these programs often run constantly in the background, display intrusive ads, and consume more resources than they save. Stick to the tools built directly into Windows.
- Disabling Windows Update Permanently: Turning off updates completely might stop an unexpected restart, but it leaves your PC exposed to security bugs and misses out on official stability improvements.
- Deleting Random Registry Files: Tweaking registry entries based on unverified online forums can corrupt your operating system, forcing you to reinstall Windows entirely.
Frequently Asked Questions
1. Will optimizing Windows 11 void my computer’s warranty?
No. Adjusting settings, disabling startup programs, and using built-in optimization tools are standard operating procedures that do not affect your hardware warranty.
2. Does Windows 11 Game Mode actually work?
Yes. Game Mode prevents Windows Update from installing drivers and sending notifications while gaming. It also stabilizes frame rates by prioritizing the game’s executable over background tasks.
3. Is it safe to disable all startup applications?
Most startup applications are safe to disable. However, avoid disabling audio drivers (Realtek), trackpad software (Synaptics), or security software, as these are necessary for your hardware to work properly.
4. How much RAM does Windows 11 need to run smoothly?
While Microsoft states the minimum requirement is 4GB, real-world usage shows that Windows 11 needs at least 8GB of RAM for smooth everyday tasks and 16GB for comfortable multitasking and gaming.
5. Why is my disk usage always at 100% in Task Manager?
This issue most commonly happens on older computers running mechanical hard drives (HDDs). Windows 11 is heavily optimized for SSDs. If your HDD is constantly at 100%, consider upgrading to an SSD.
6. Will clearing the cache delete my personal files?
No. Clearing the system cache or using Storage Sense only removes temporary files, installation logs, and browser caches. Your documents, photos, and downloaded files remain safe.
7. Does disabling transparency effects really save battery life?
Yes. Transparency effects require your graphics chip to calculate real-time blurs behind open windows. Turning it off reduces GPU load, saving power on laptops.
8. Should I defragment my SSD to make it faster?
No. You should never defragment an SSD. Defragmentation is meant for old mechanical hard drives and adds unnecessary wear to an SSD. Windows automatically manages SSD performance using a built-in feature called TRIM.
9. Why did my PC slow down right after a Windows update?
Windows often runs background indexing and optimization tasks for a few hours immediately following a large update. If the slowness persists past a day, look into rolling back the update or checking for driver conflicts.
10. Can I go back to Windows 10 if Windows 11 is too slow?
If you updated to Windows 11 less than 10 days ago, you can use the built-in “Go Back” feature in your Update settings. If it has been longer than 10 days, you will need to back up your data and perform a clean installation of Windows 10.
Final Thoughts
Optimizing Windows 11 comes down to matching the operating system’s settings with your actual hardware capabilities. If you run a high-end desktop workstation, turning off visual animations won’t offer a noticeable difference. However, if you work on a mid-range laptop, stripping away unneeded background apps and visual extras can make your computer feel entirely different.
Start by disabling your startup programs and turning on Storage Sense. These two simple changes yield the highest returns with minimal effort. If your system still feels sluggish after trying these steps, it might be time to look at affordable hardware upgrades, like swapping out an old mechanical drive for an SSD or adding a cheap stick of extra RAM.